Upon signing up for the email product, there are a few pre-requisite configurations that should be completed before you could send your first email campaign.
1. From Email
Any marketing campaign sent via email needs a valid sender address and Pulsate allows you to configure custom email addresses that could be used as a From address while creating a campaign. To add a new From email address, navigate to the App Settings page by clicking on the Settings icon on the top right corner of the portal followed by App Settings.
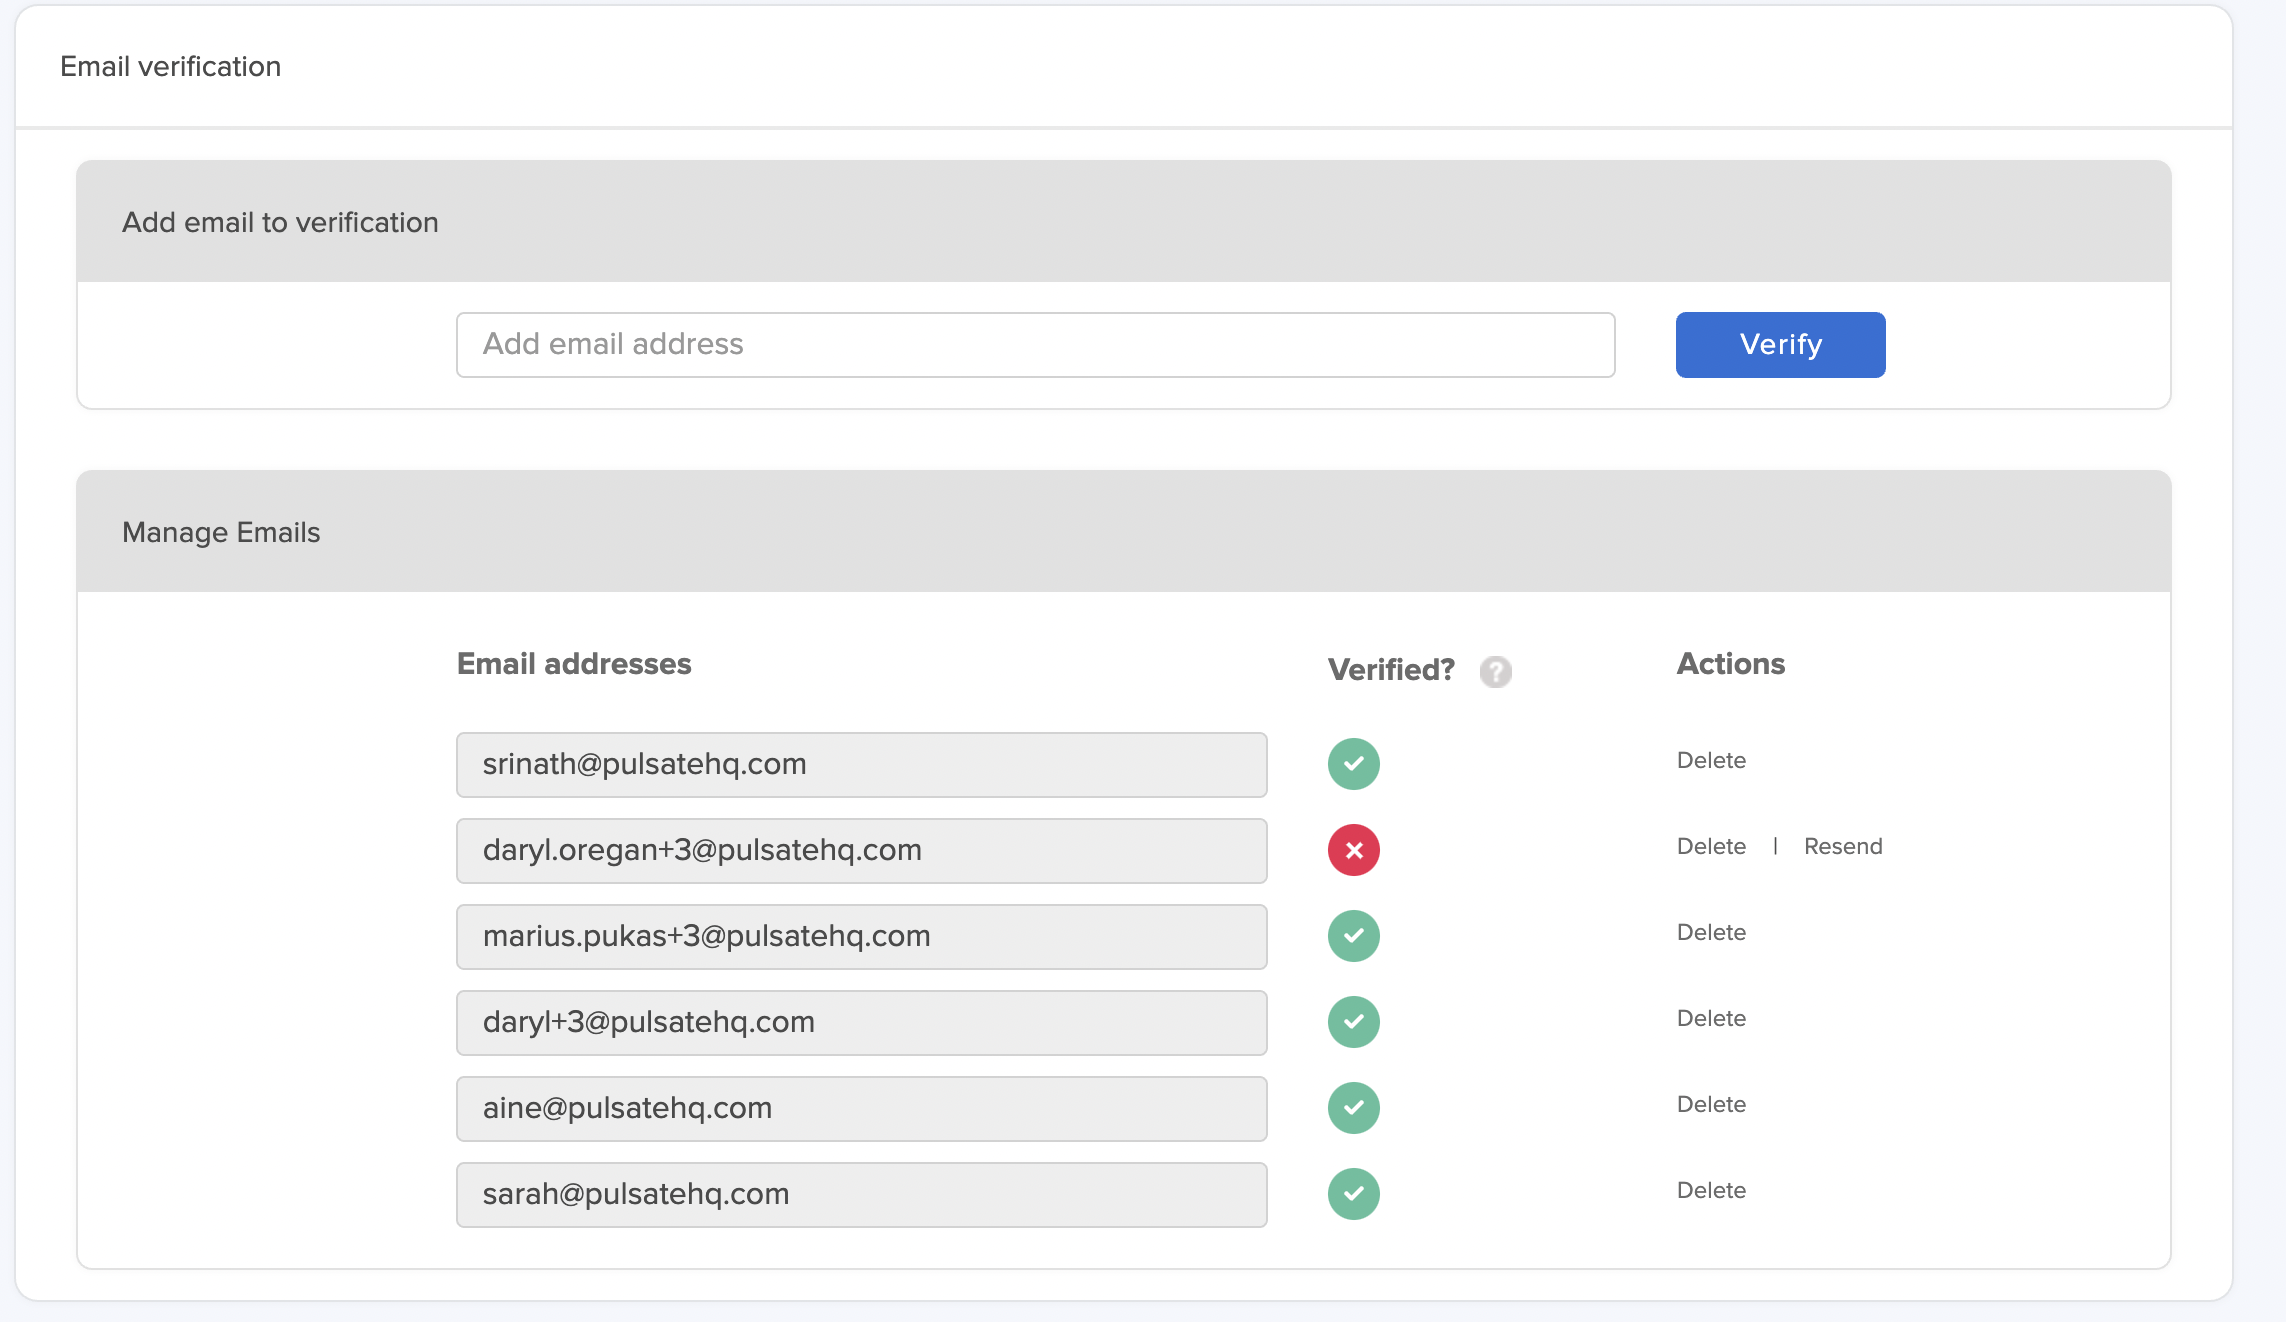
Scroll down to the Email Verification section, enter the email address under Add email to verification field and click on verify. Consider separate subdomains for your transactional emails (i.e. account sign up, Invoices, etc.) to help protect the sending reputation from any negative engagement of your marketing emails. Examples: Marketing sub-domain: "[email protected]”, Transactional: "[email protected]."
An address verification request would be triggered from AWS and sent to the email address that was added in the previous step. Upon clicking on the URL in the email the verified Column corresponding to the email address will have a green tick. Failing to click on the verification URL within 24 hours of receiving the email would display a red cross, however, you will have an option to resend the verification email again.

Set Up From Email
2. From Name
The From name that accompanies a sender email address has a major influence on customers opening an email. To add a From Name navigate to the App Settings page by clicking on the Settings icon on the top right corner of the portal followed by App Settings.
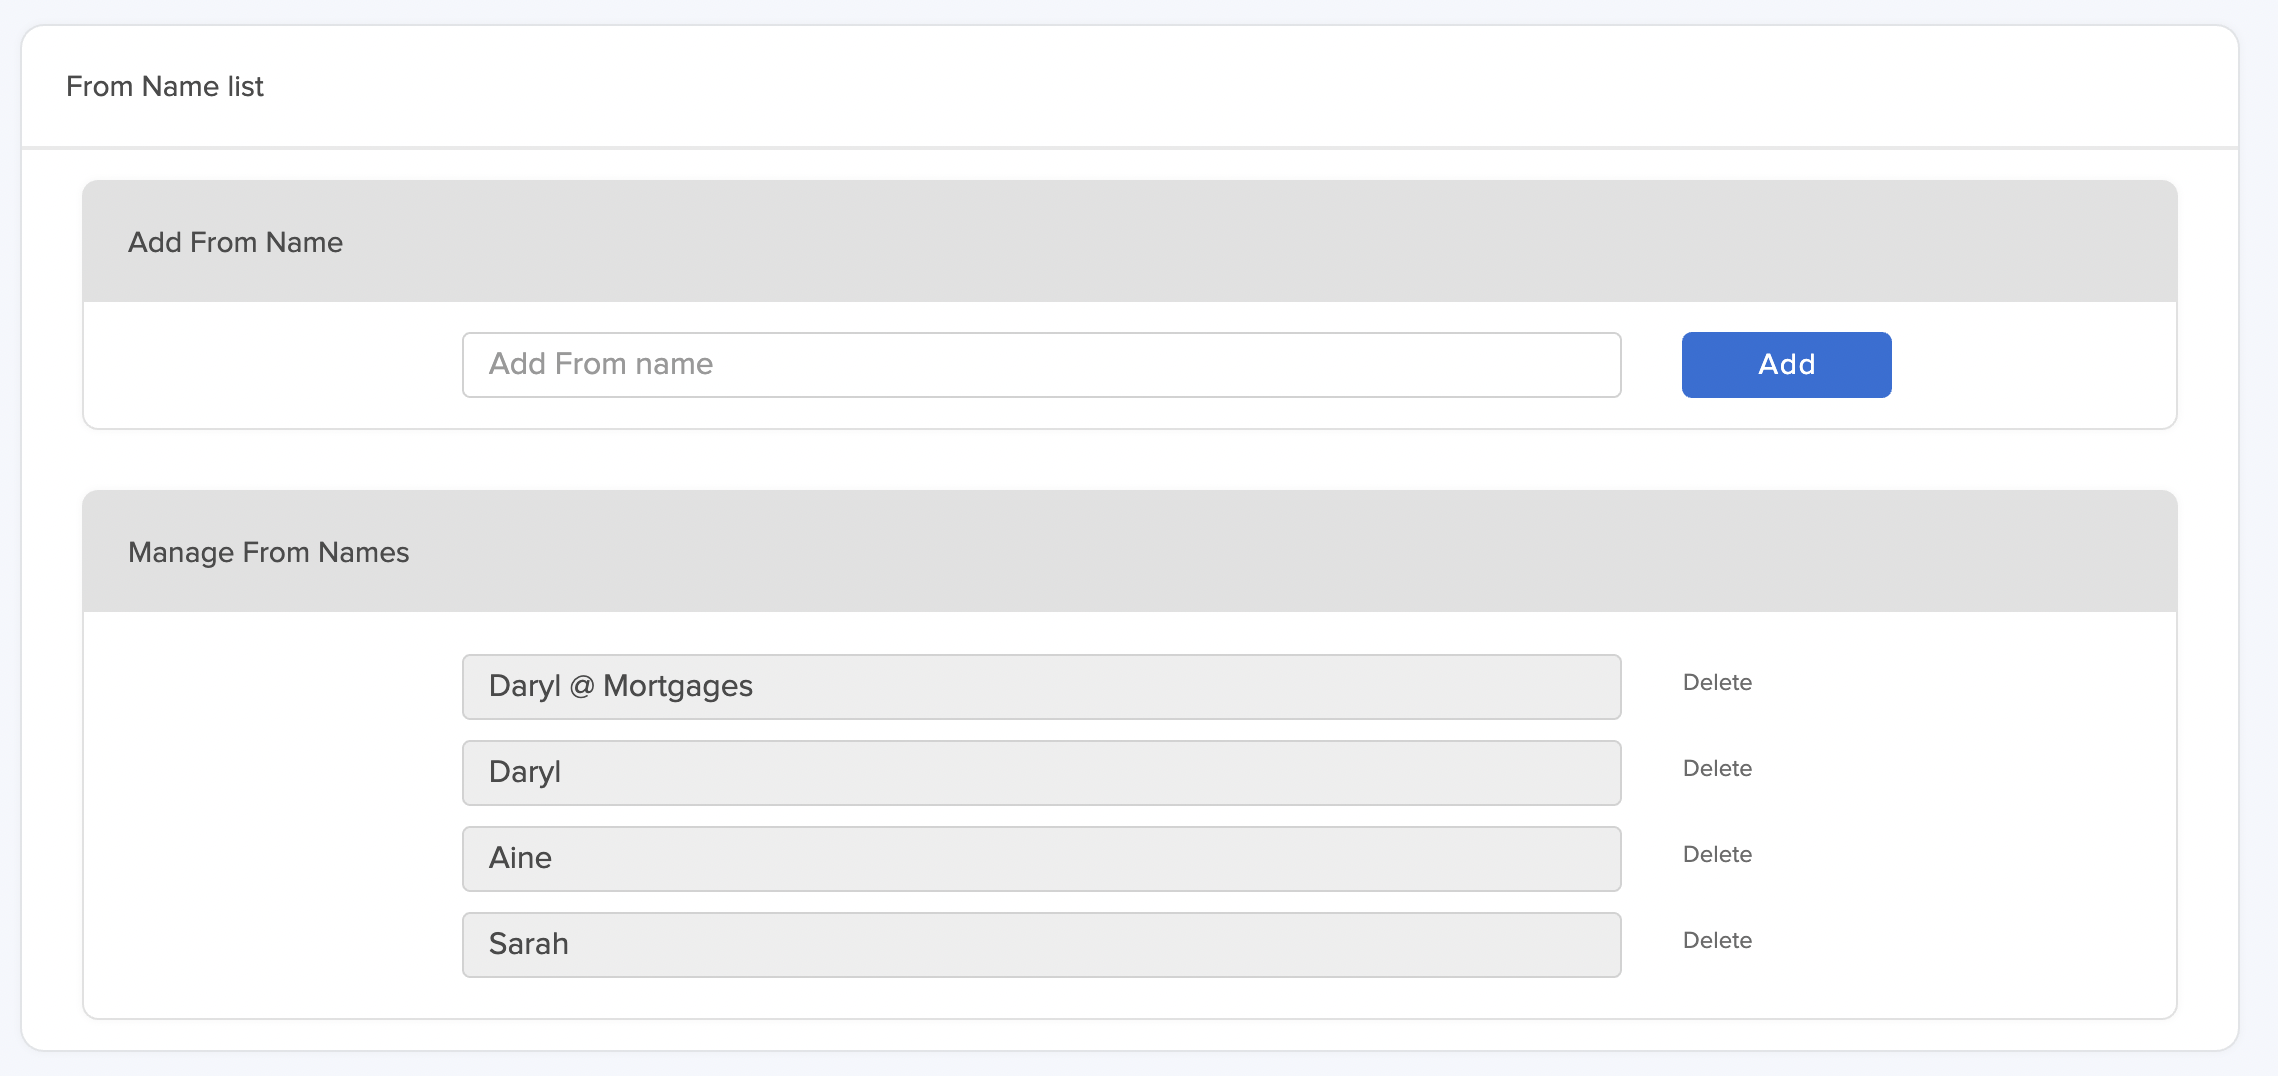
Scroll down to the From Name list section, enter a name, and click on Add. It will then be visible under Manage From Names field.

Set Up From Name
