Generating your FCM Server Key and Sender ID
Before push notifications can be enabled for the Pulsate SDK, you must create a project using Firebase, configure the Firebase App and configure your app to recieve push notifications. Once these steps are completed, your app will be ready to communicate with the Pulsate Push service.
FCM Configuration Summary
1. Follow - "Step 1: Creating a Firebase Project" - to create a new Firebase Project. If you already have an GCM App read the "GCM to FCM migration" warning to migrate from GCM to FCM.
2. When the new Firebase Project is ready follow "Step 2: Connect Android App with Firebase Console" to add Firebase to your Android App.
3. When that is complete follow "Step 3: Obtaining the FCM Server Key and Sender ID" to obtain your new FCM Tokens
4. When the new FCM tokens have been generated, follow "Step 4: Pulsate Settings" to paste them properly into Pulsate
5. Make sure to update the SDK dependency in your Android App to
implementation 'com.pulsatehq.sdk:pulsatesdk:3.0.0'
6. Test sending push notifications to an Android device and make sure that everything is fine
Step 1: Creating a Firebase Project
Open the Firebase Developer Console - https://console.firebase.google.com/u/0/
Once the page loads click "Add Project"
Enter the name of your project. We recommend to name it the same way your project is named or will be named on the Pulsate website. When ready click "Create Project"
GCM to FCM migration
If you already have a GCM Project you should import it into FCM instead of creating a new project. When selecting a name for your FCM project a list of already existing GCM projects on this account will popup. Select the GCM project you want to import and click "Create Project"
Step 2: Connect Android App with Firebase Console
While in your Firebase Project you will have an Android App Icon in the middle of screen. Click on the icon to create a new Android App.
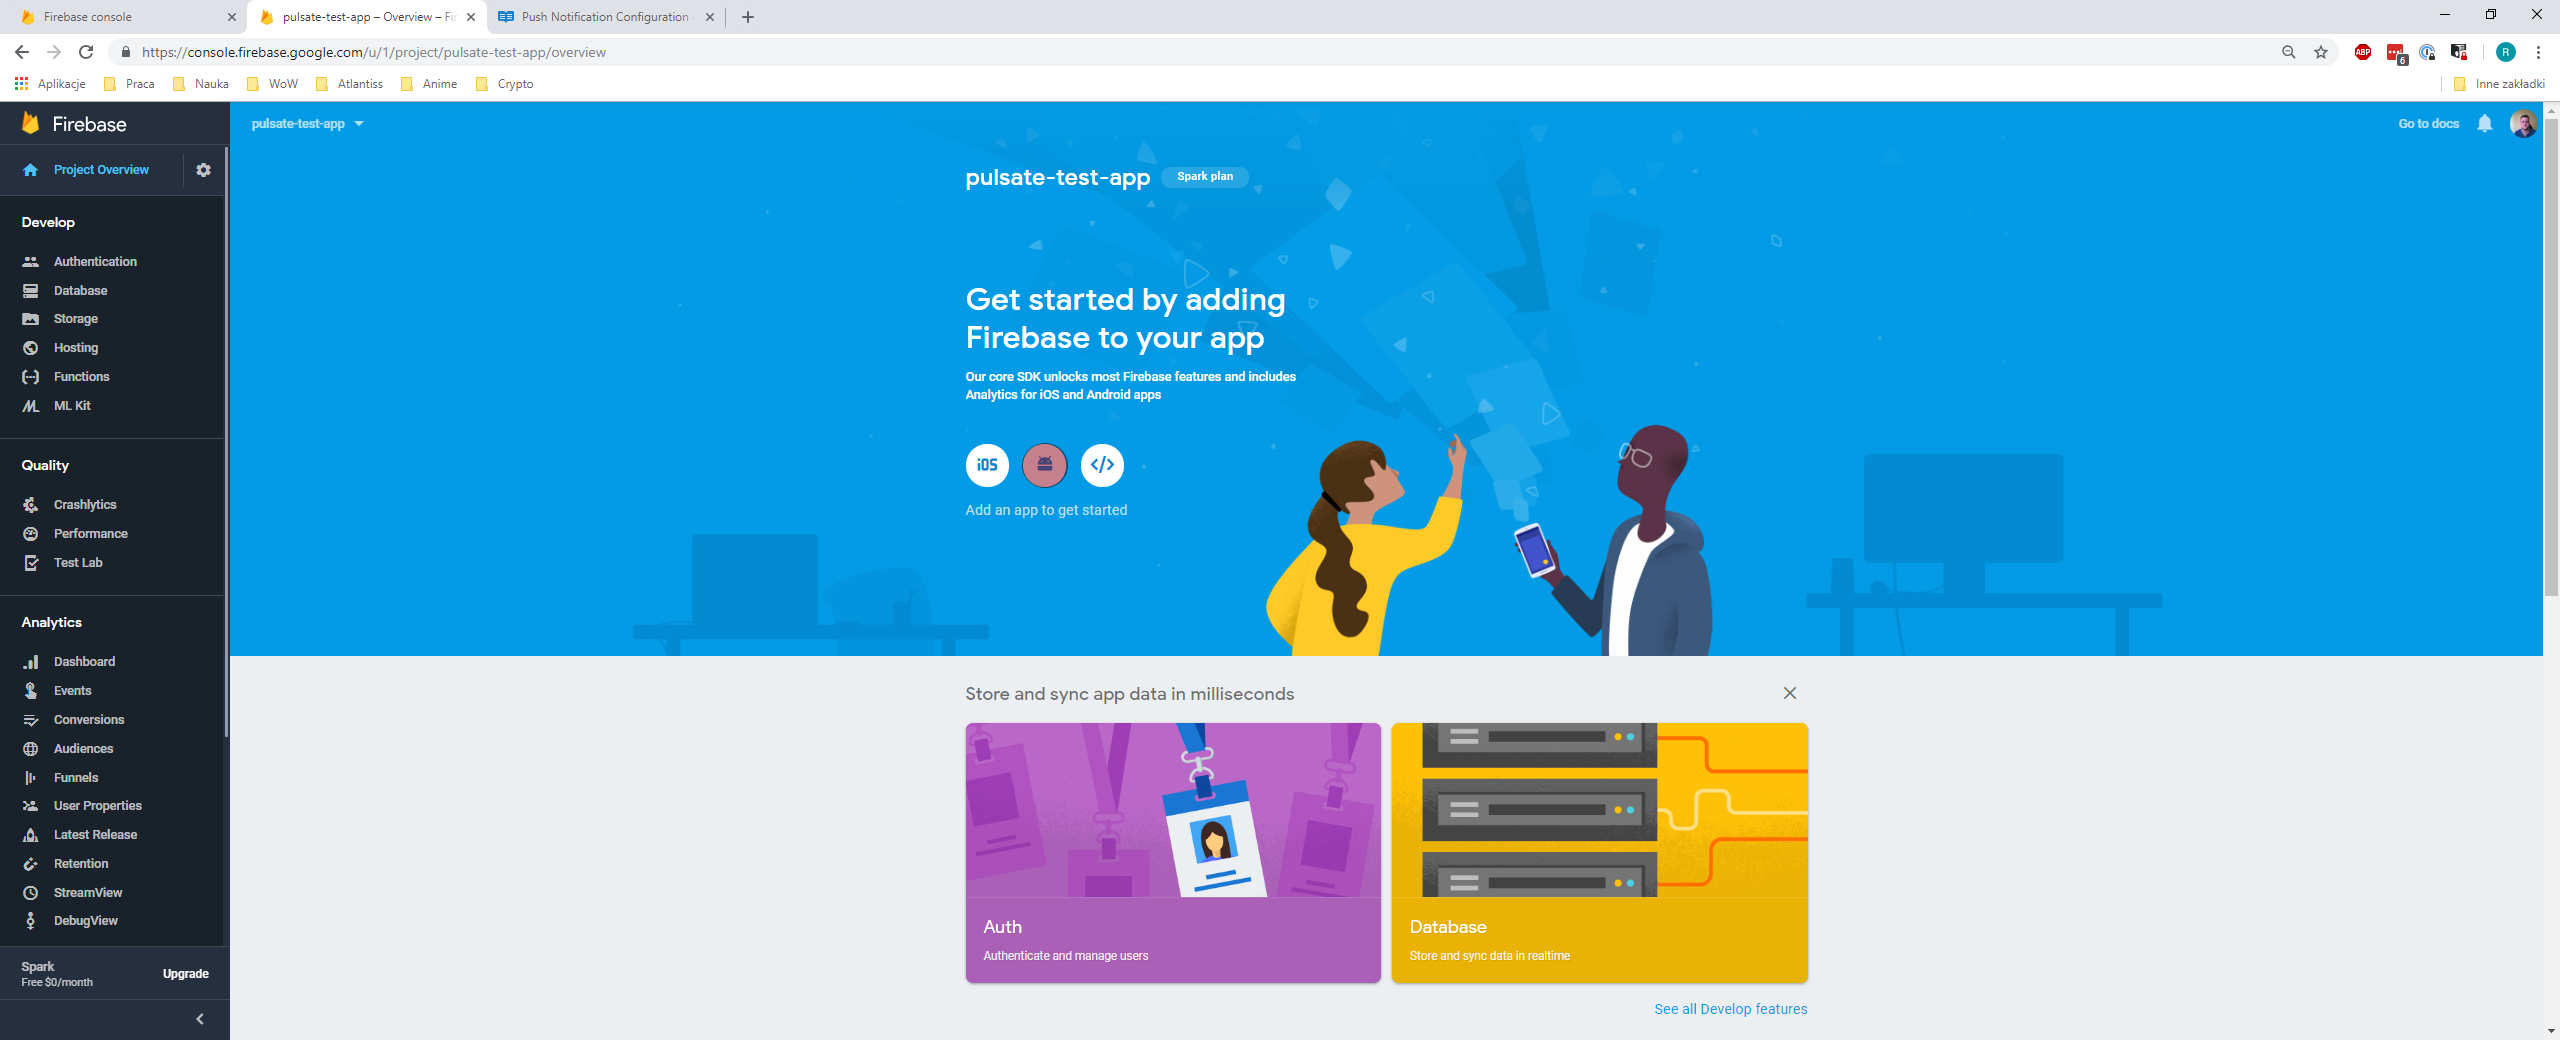
You will be now taken to the Android app creator. The first step is to setup your Android package name. You can check your Android package name in your AndroidManifest.xml file in your Android Studio project. Once you set your Android package name click "Register App".
Firebase will now create a config file for you. You will need to download this file and place it in your Android app module root directory. Firebase provides an image to show where to exactly place the file. Once ready click "Next"
The next step is to add the Firebase SDK to your Android project. Firebase once again provides code snippets and exact file locations. After you add all dependencies click "Sync now" in Android Studio and make sure there are no errors. Once ready click "Next".
The last step is verifying that the installation was an success. To do so uninstall and reinstall your Android App. If the installation was an success you will be able to click "Continue to console", if for some reason the installation wasn't successful please make sure that the test was done on a real phone, the phone Play Services are up to date and that you have a proper internet connection.
Step 3: Obtaining the FCM Server Key and Sender ID
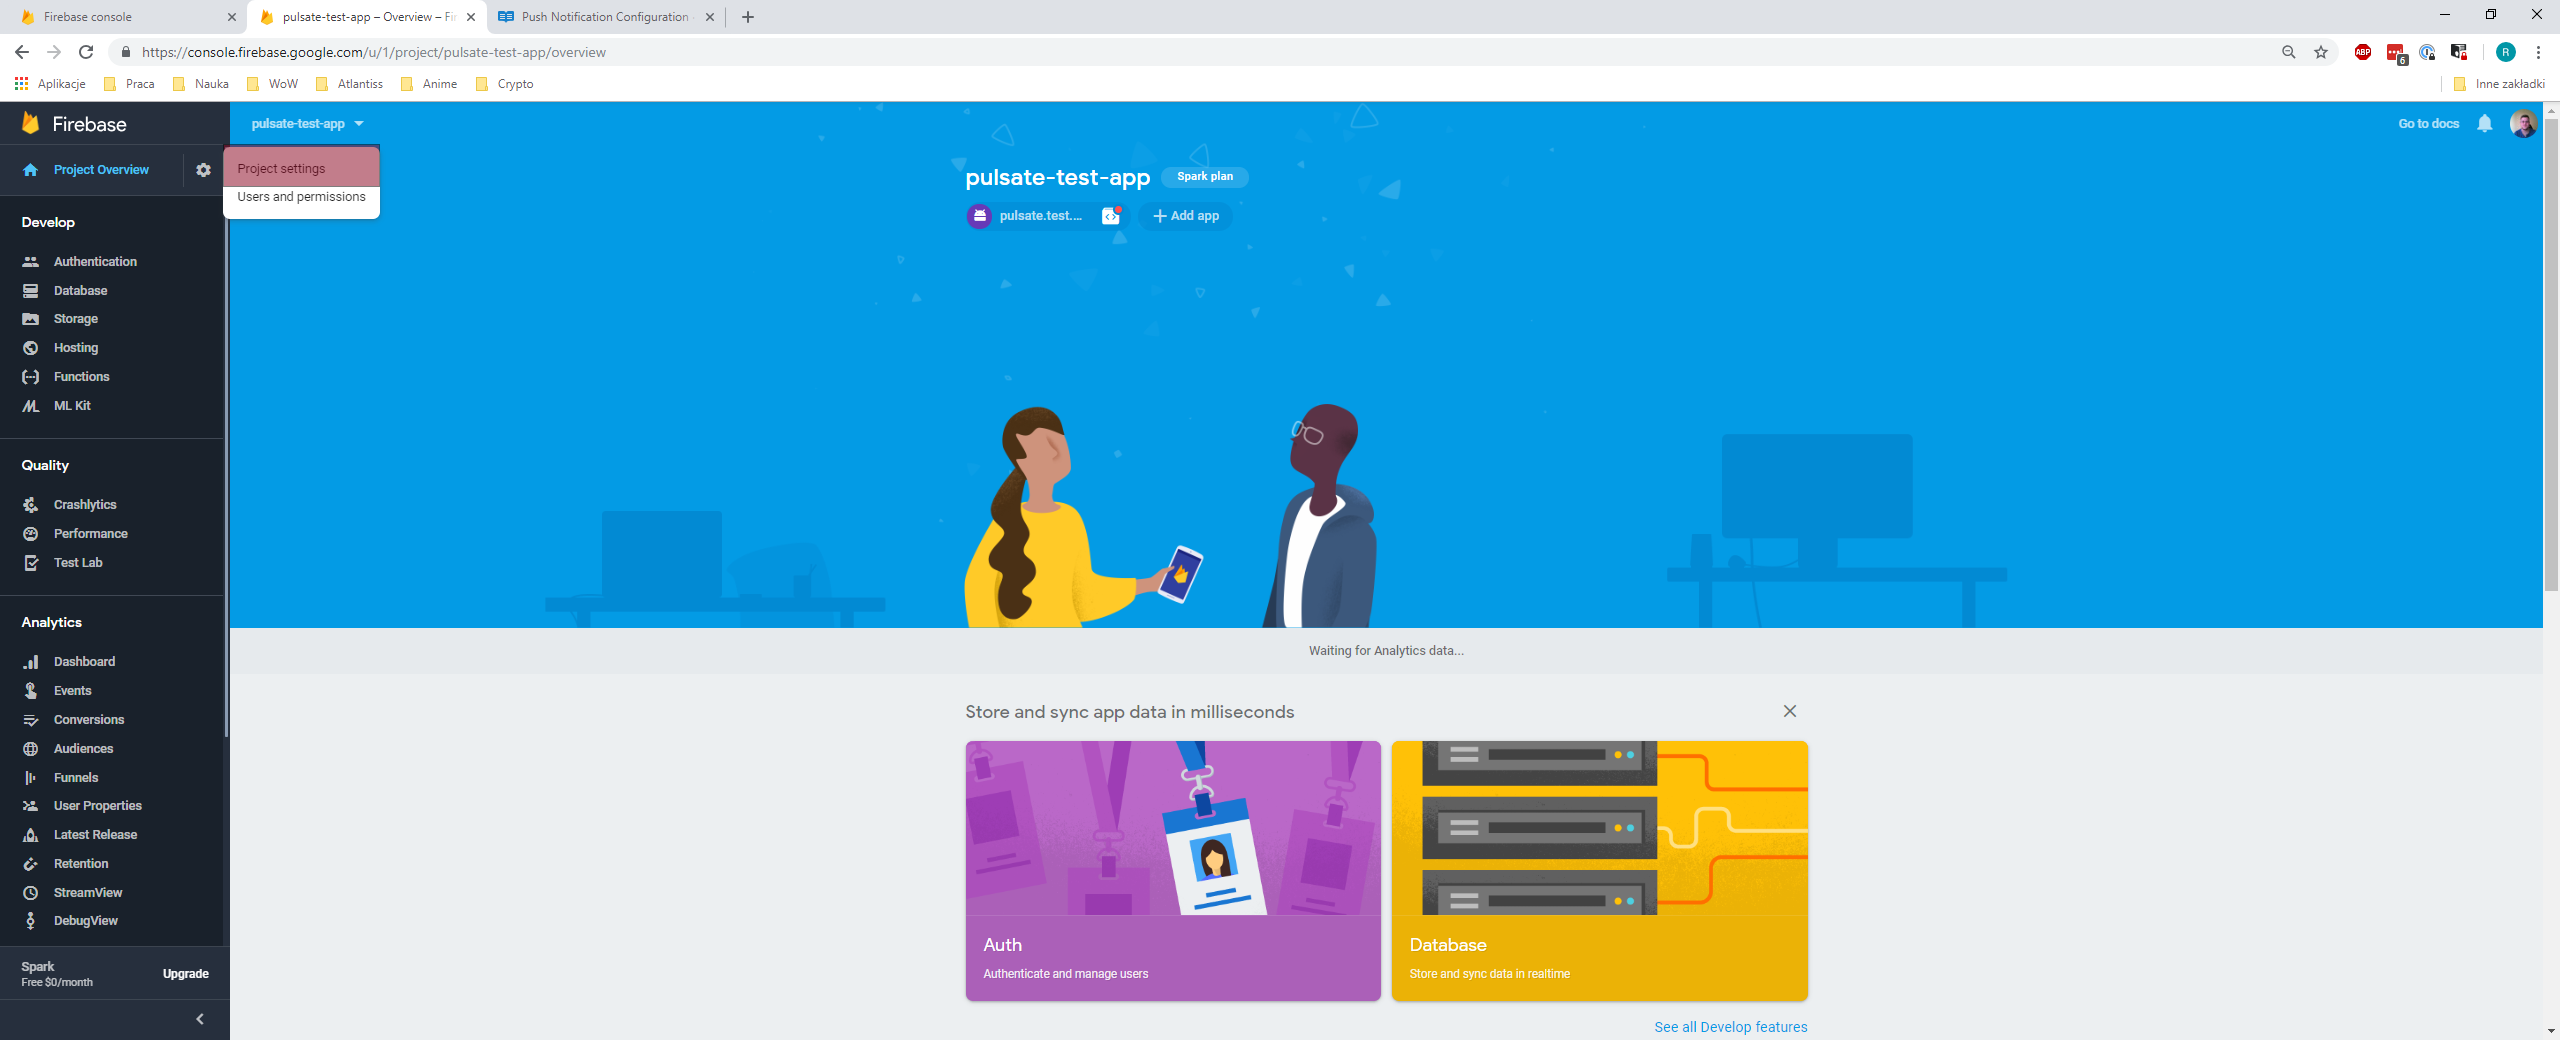
Next to the "Project Overview" menu button you will see a Settings Button, click on it and later select "Project Settings".
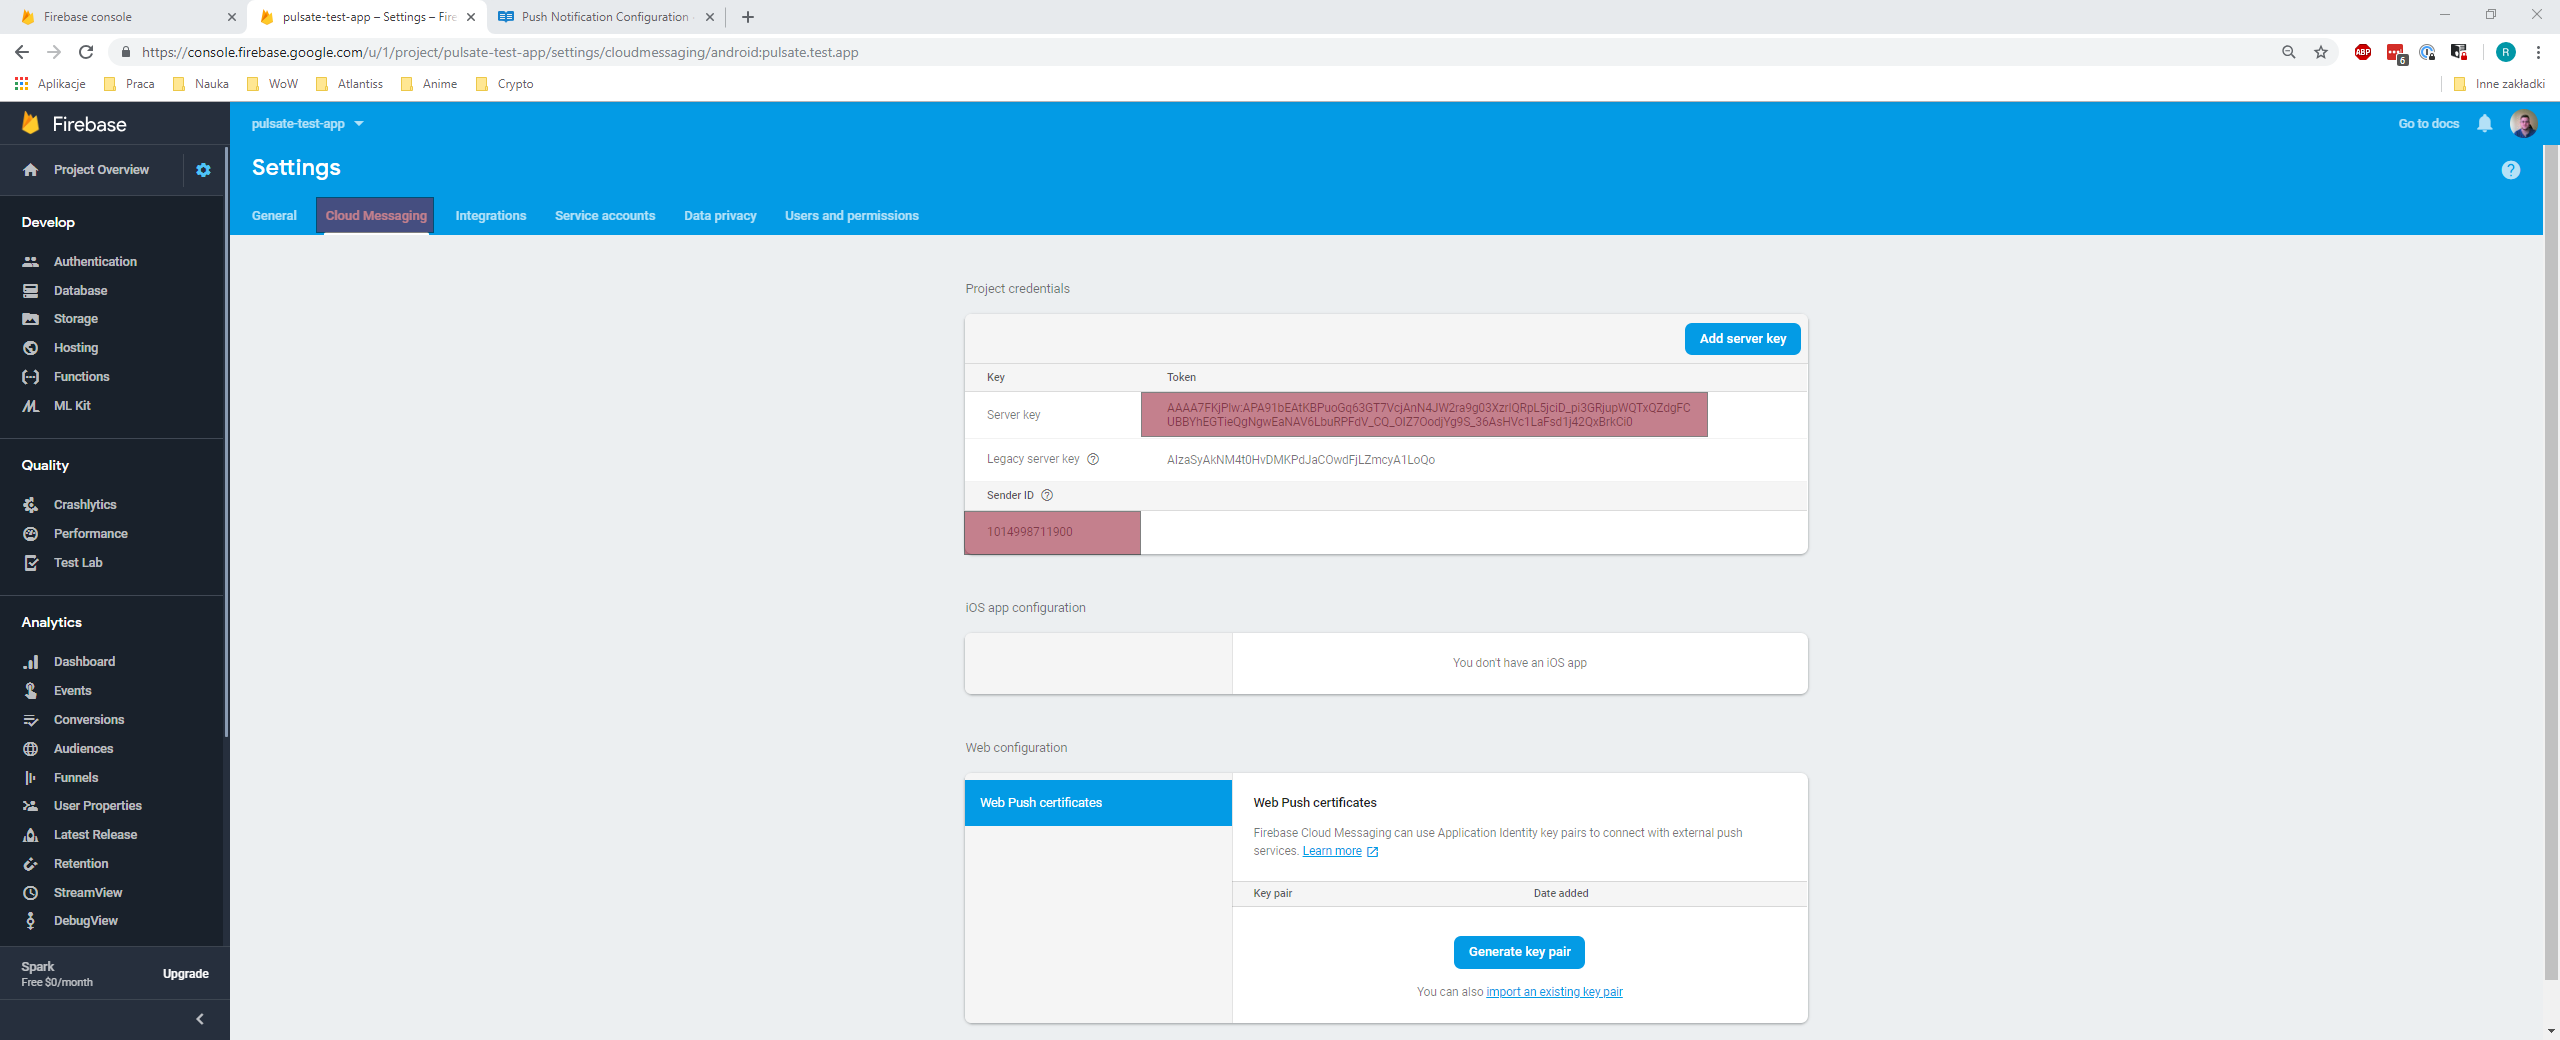
Once in the Project Settings select the "Cloud Messaging" tab. Under the "Cloud Messaging" tab you will find your "Server Key" and "Sender ID". Save both of these values, you will need them later when setting up Pulsate.
Step 4: Pulsate Settings
Now we will add the "APP ID" and "API Key" to the Pulsate Settings.
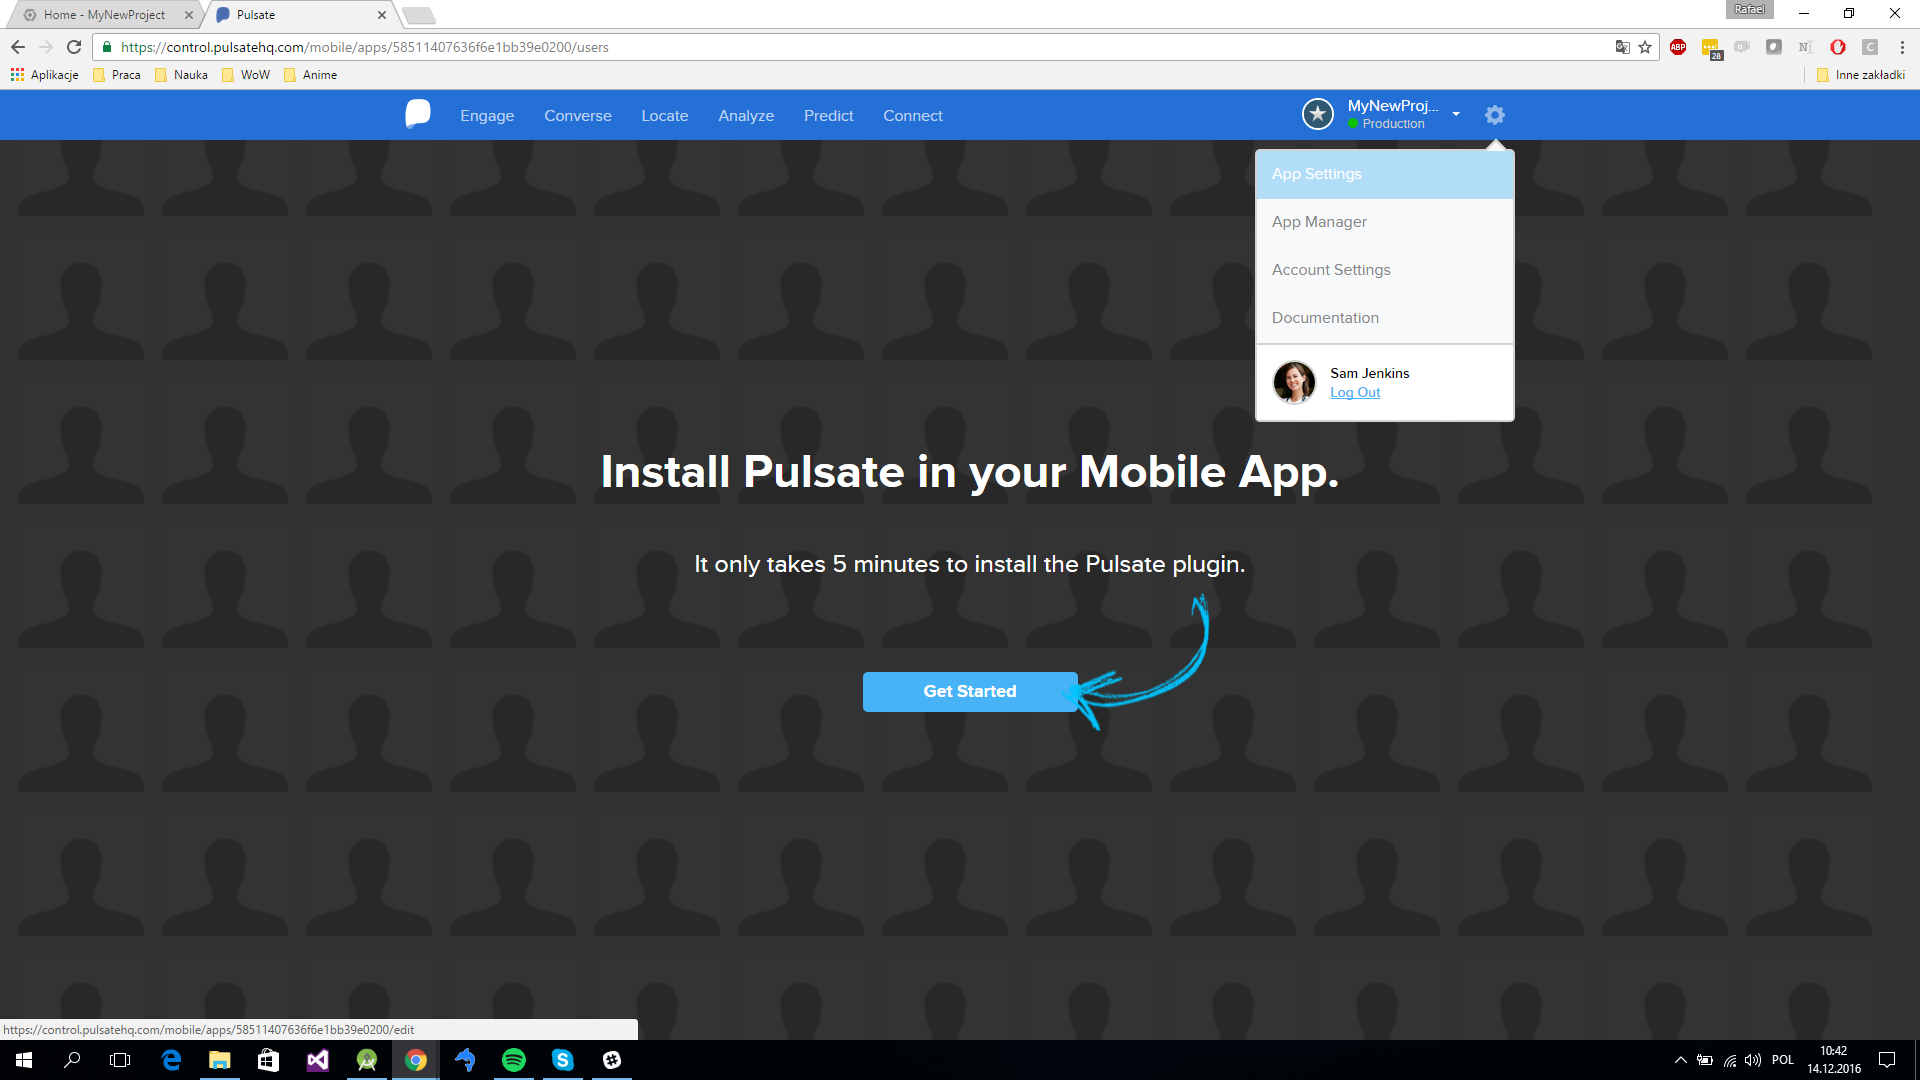
When you enter a new Pulsate App you will see this page:
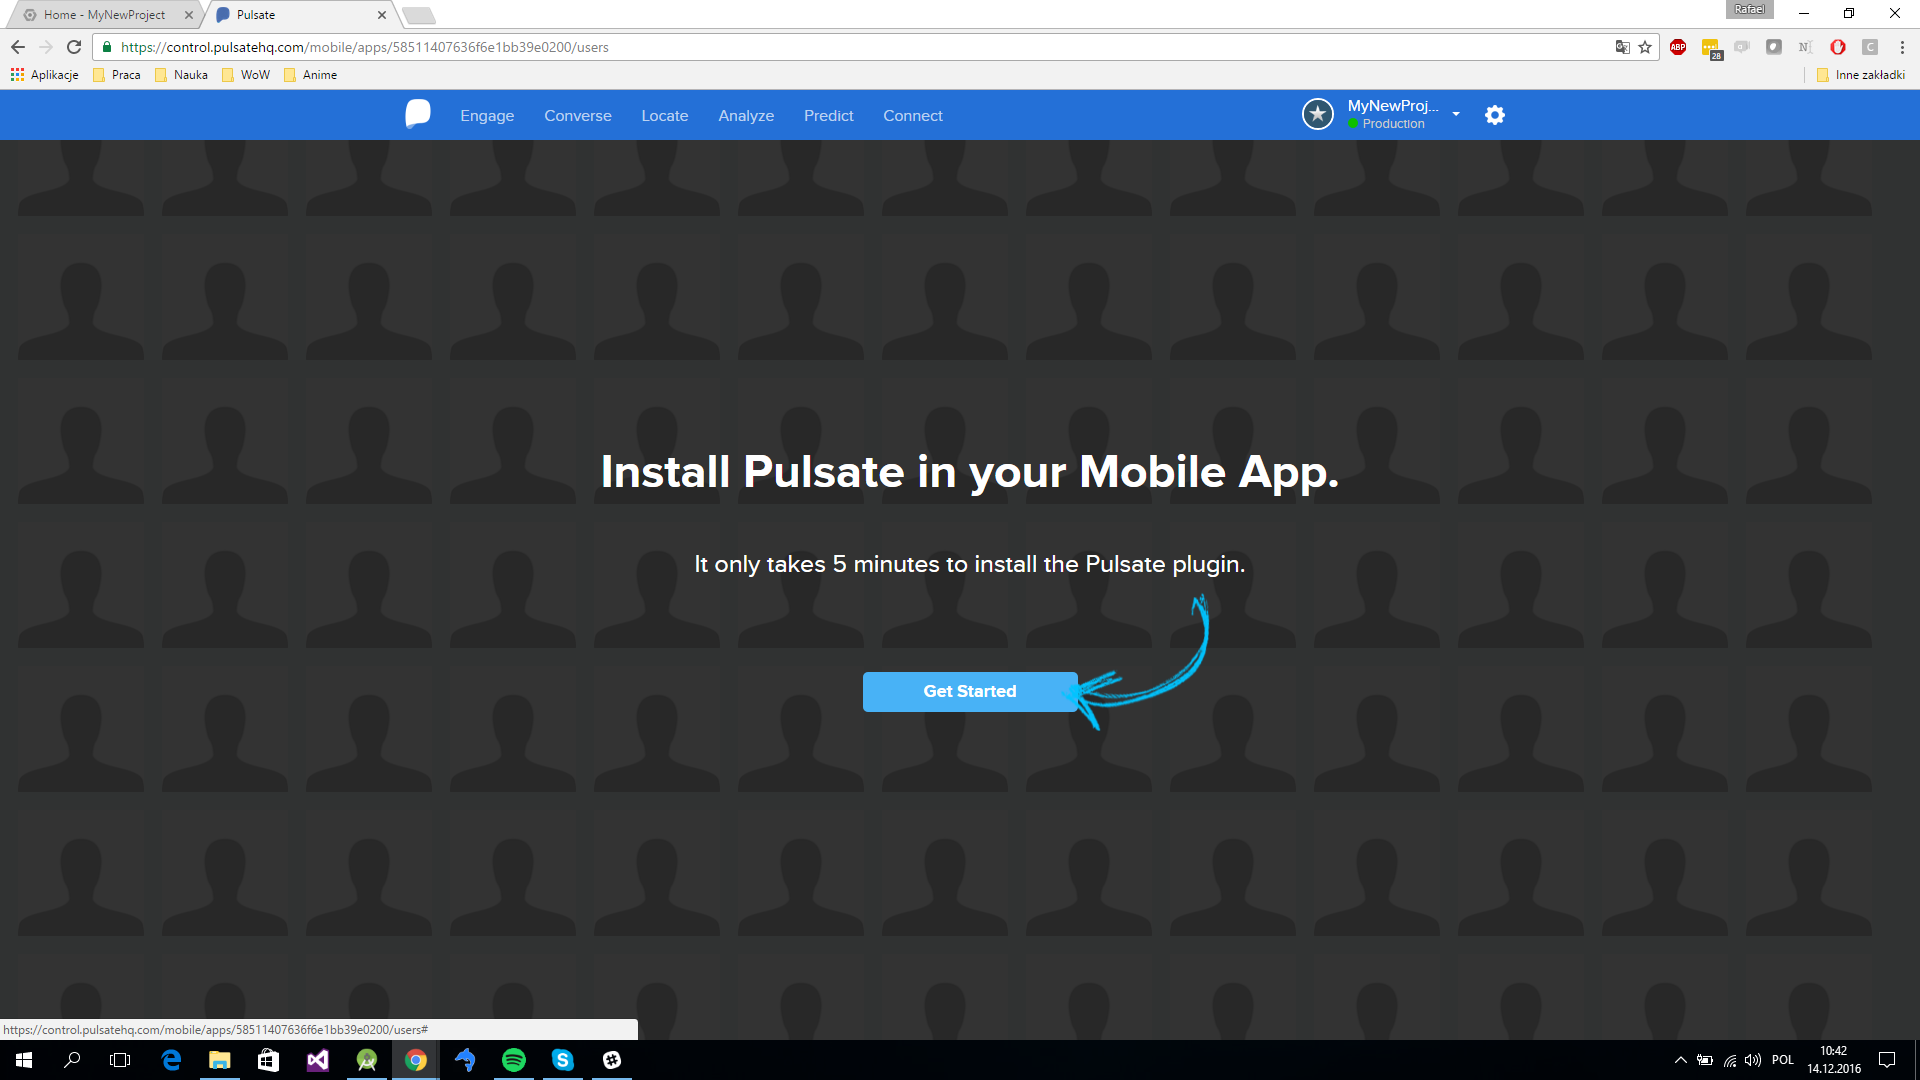
In the top right click on the settings icon and select "App Settings".
On the new page search for "Google Cloud Messaging (GCM)".
There you will find two empty fields "API Key" and "APP ID".
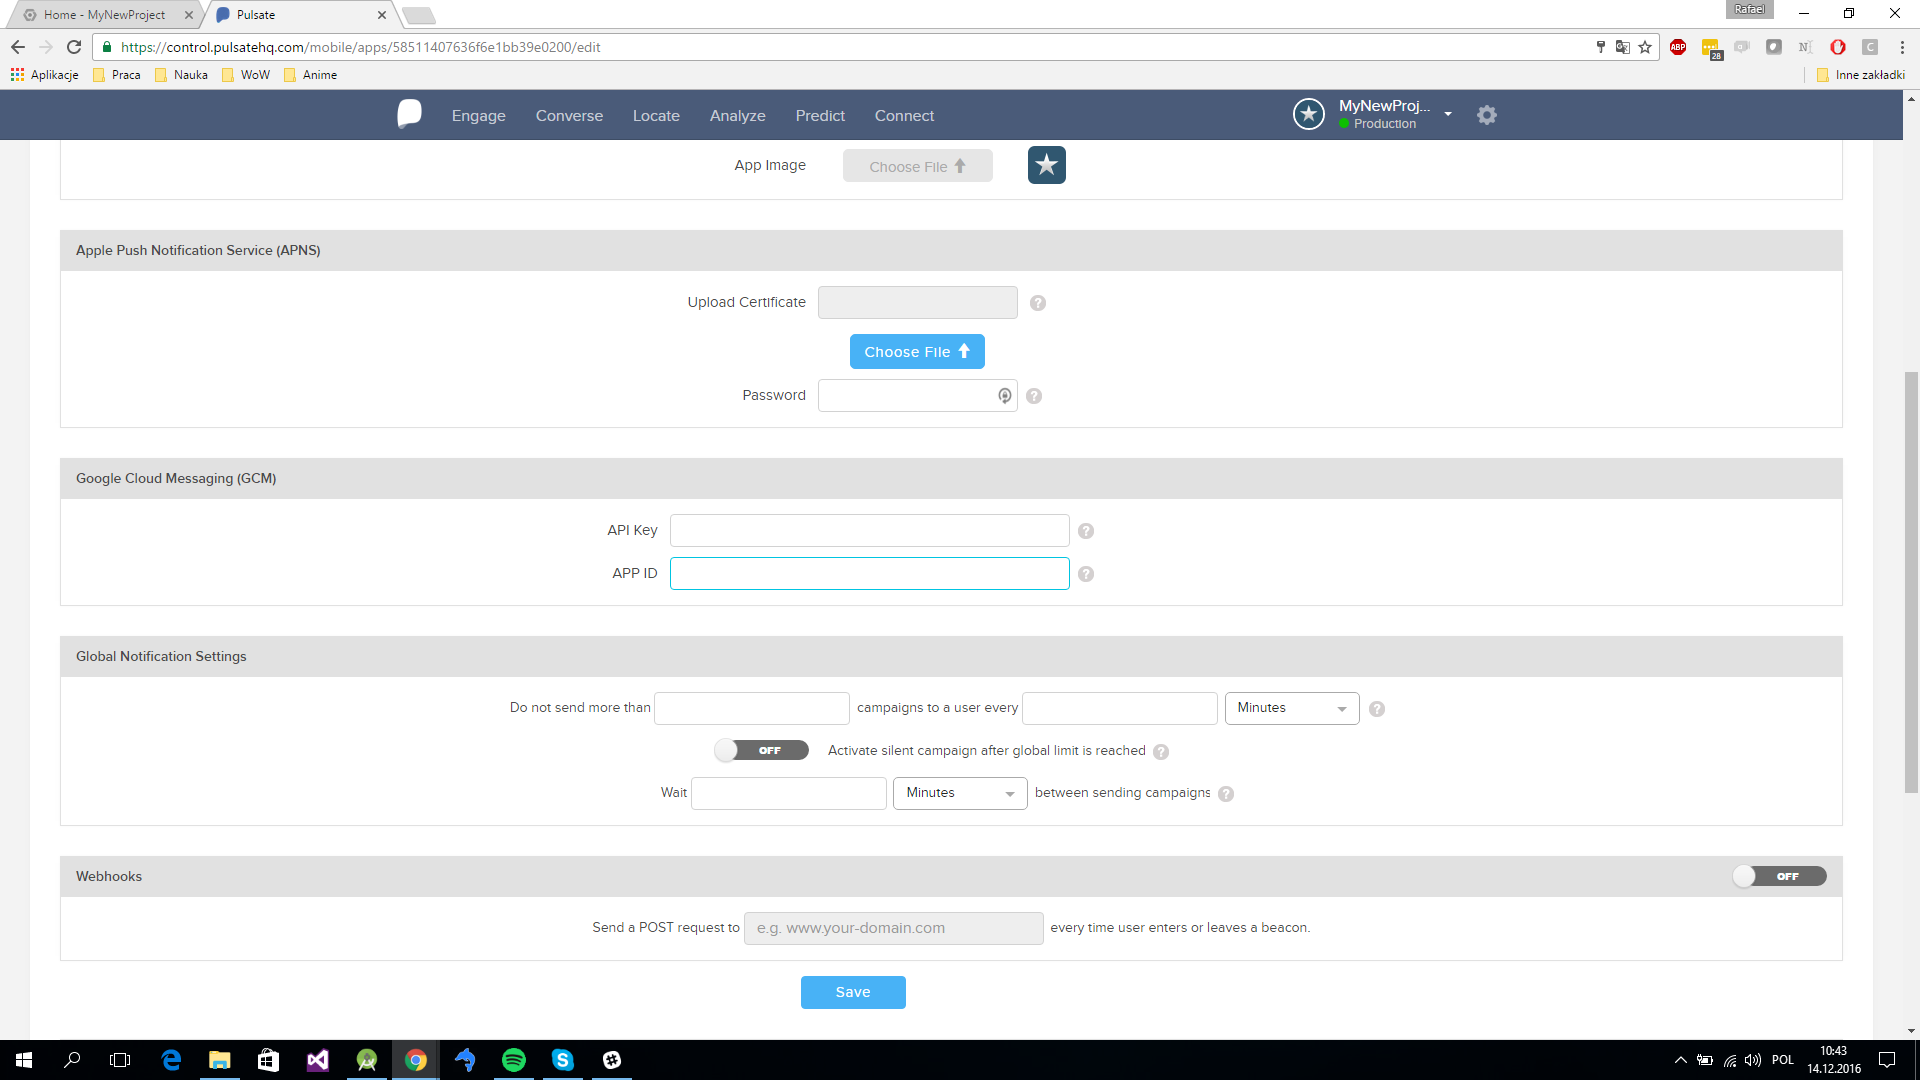
The "Sender ID" you saved from the Firebase Console is the "APP ID".
The "Server Key" you saved from the Firebase Console is the "API Key".
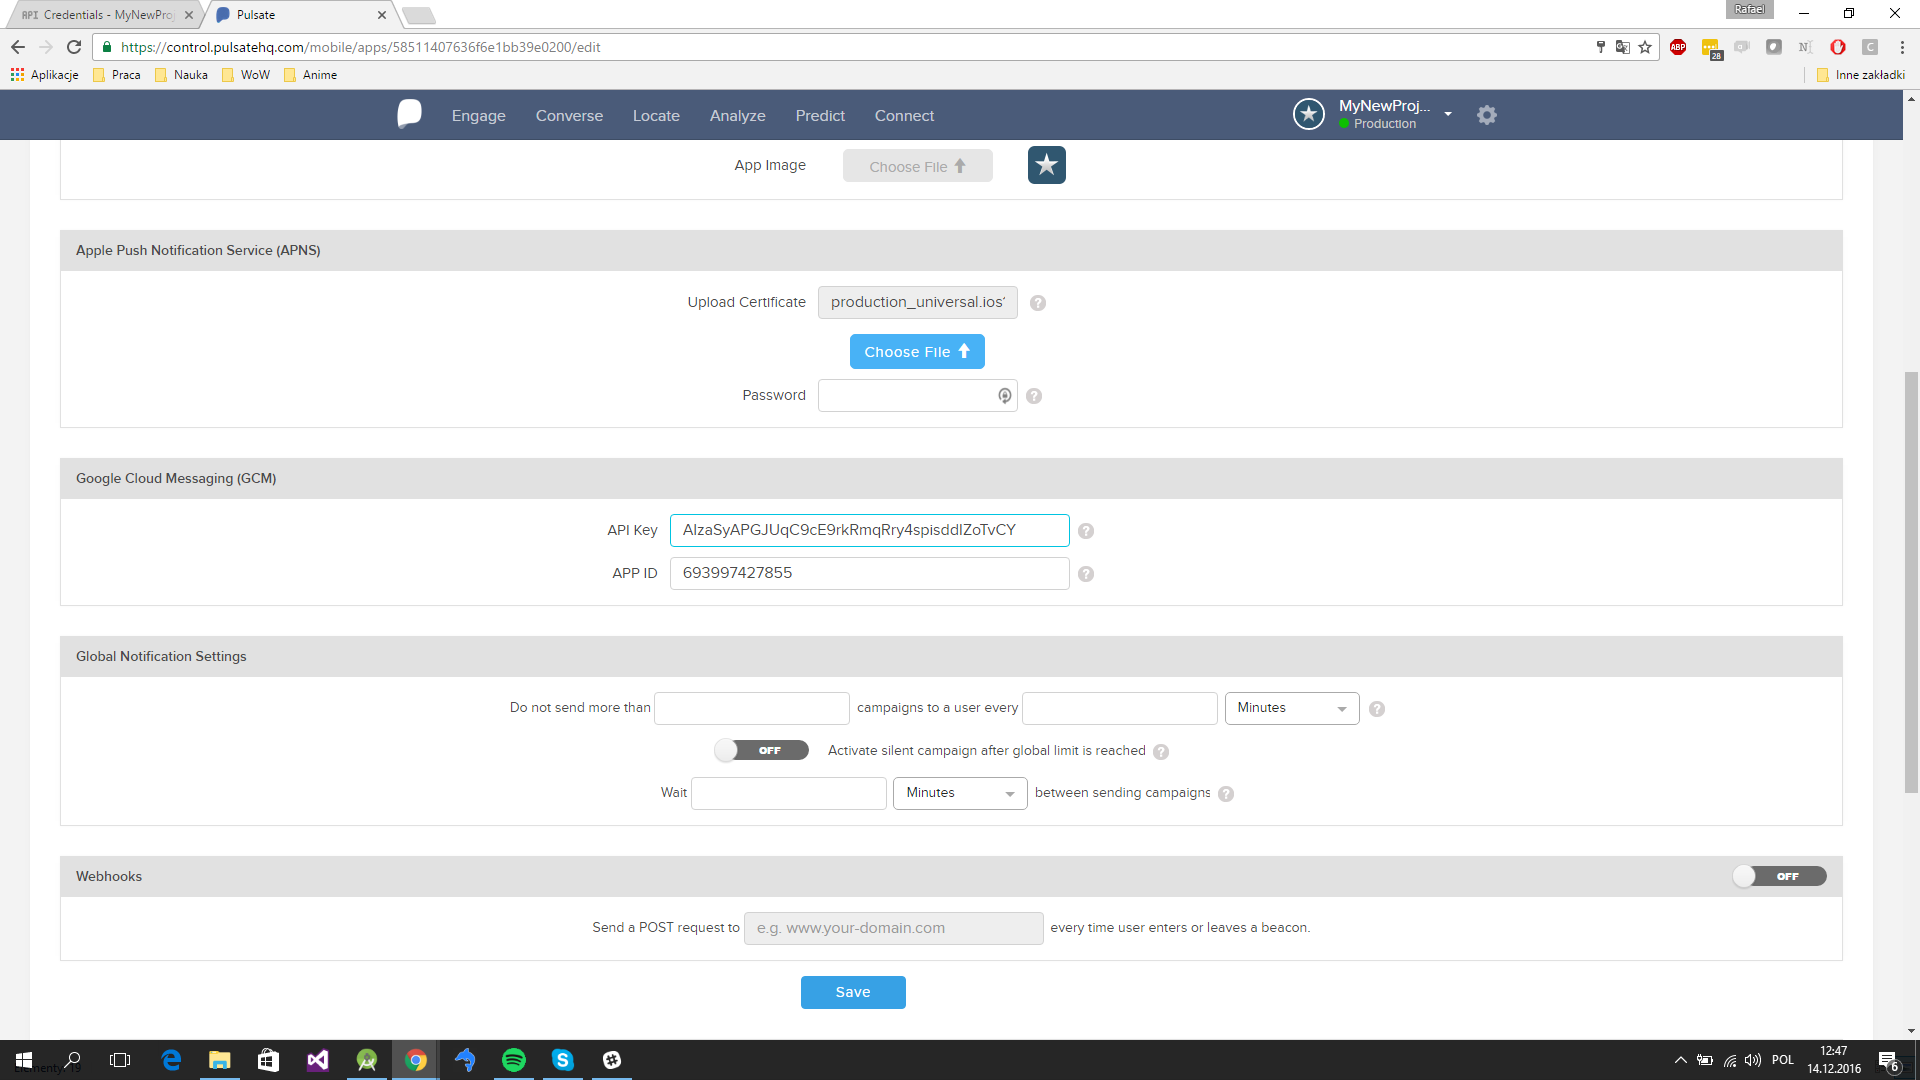
After filling in the GCM Details click "Save".
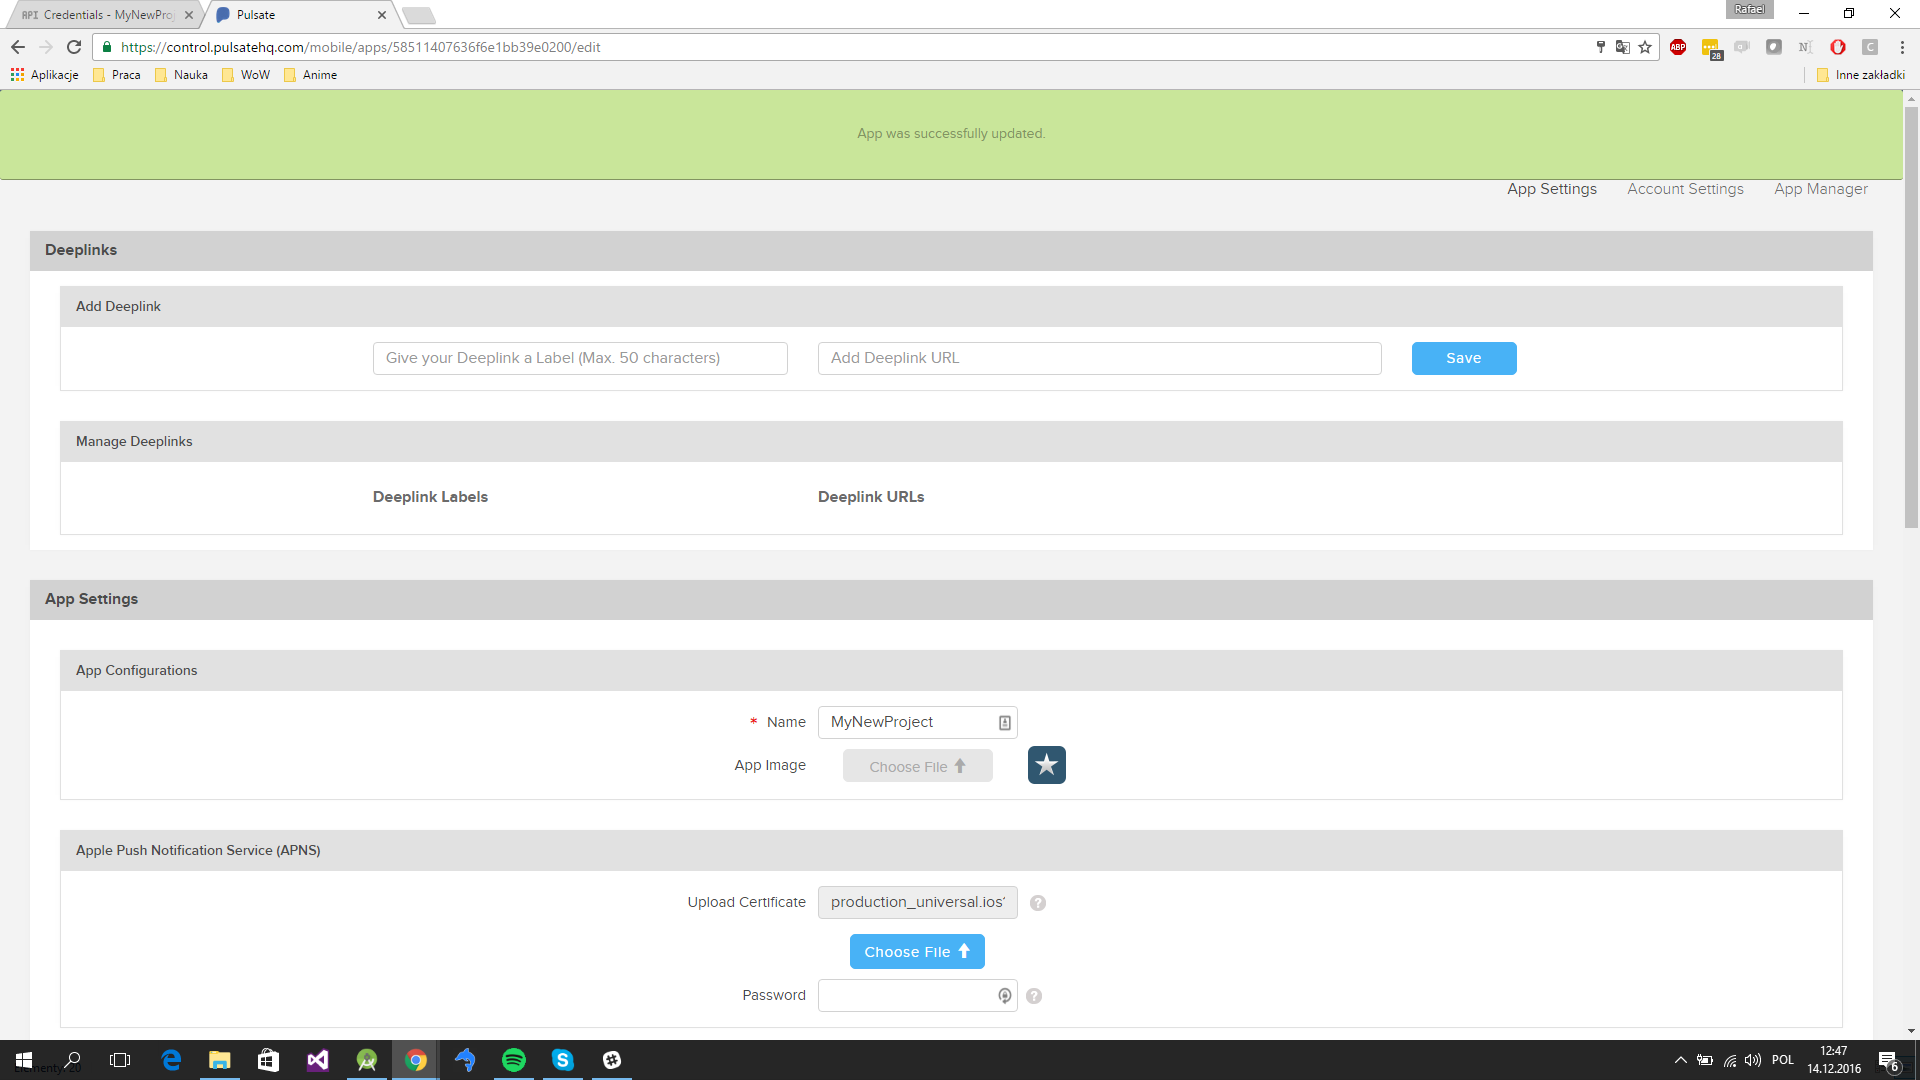
After the new settings are successfully saved you will see a dialog show up at the top of the page.
Passing FirebaseMessagingService callbacks to Pulsate
Pulsate by default takes care of the FirebaseMessagingService and FCM callbacks, but if you yourself implement the FirebaseMessagingService in your App you will need to pass the callbacks to Pulsate. There are two callbacks Pulsate needs - "onMessageReceived()" and "onNewToken()".
fun onMessageReceived(remoteMessage: RemoteMessage?) {
		val pulsateManager = PulsateFactory.getInstance()
    if (pulsateManager.onMessageReceived(remoteMessage)) {
    		// Push was handled by Pulsate you can return.
        return
    }
    handleFcmMessage()
}

private fun handleFcmMessage() {}

fun onNewToken(@NotNull token: String?) {
		super.onNewToken(token)
    val pulsateManager = PulsateFactory.getInstance()
    pulsateManager.onNewToken(token!!)
}
Setting the push notification icons
To setup the push notification icons you need to add 2 drawables to your "drawable" folders. The first icon must be named "ic_notification.png" the second one "ic_notification_large.png". Add these two icons to the following folders "drawable", "drawable-mdpi", "drawable-hdpi", "drawable-xhdpi", "drawable-xxhdpi", "drawable-xxxhdpi".
The size of the images should be:
24px(mdpi)
36px(hdpi)
48px(xhdpi)
72px(xxhdpi)
96px(xxhdpi)
These are used to represent application notifications in the status bar. They should be flat (no gradients), white and face-on perspective.
